
Did you know that the seeds of a squash (or a pumpkin) are very high in fiber and protein? They also contain calcium and vitamins. Lots of good reasons to use them!
The first step is to save the seeds. Depending on your squash, the seeds may be well entangled in the fibers found in the center of the squash. Separate them as best you can, and then soak them in salted water for a few hours. That will help loosen the fibers from the seeds and allow you to separate them all. Dry them on a paper towel. Let them dry overnight.
An added benefit to this do-it-yourself method? There’s no risk of cross contact with another food you might be allergic to due to “shared equipment.”
Once the seeds are dry you will want to roast them for 12-15 minutes in a 350-degree oven. Spread them in a single layer on a baking sheet lined with parchment paper. Super easy! Once roasted, you can eat the seeds just as you would any other roasted seed or nut. Add them to cereal, trail mix, or simply eat them by the handful.
The method I used to make Butternut Squash Seed Butter is the same as I use to make Sunflower Seed Butter. These seeds are dryer than sunflower seeds and won’t release as much natural oil – that means you need to add it.
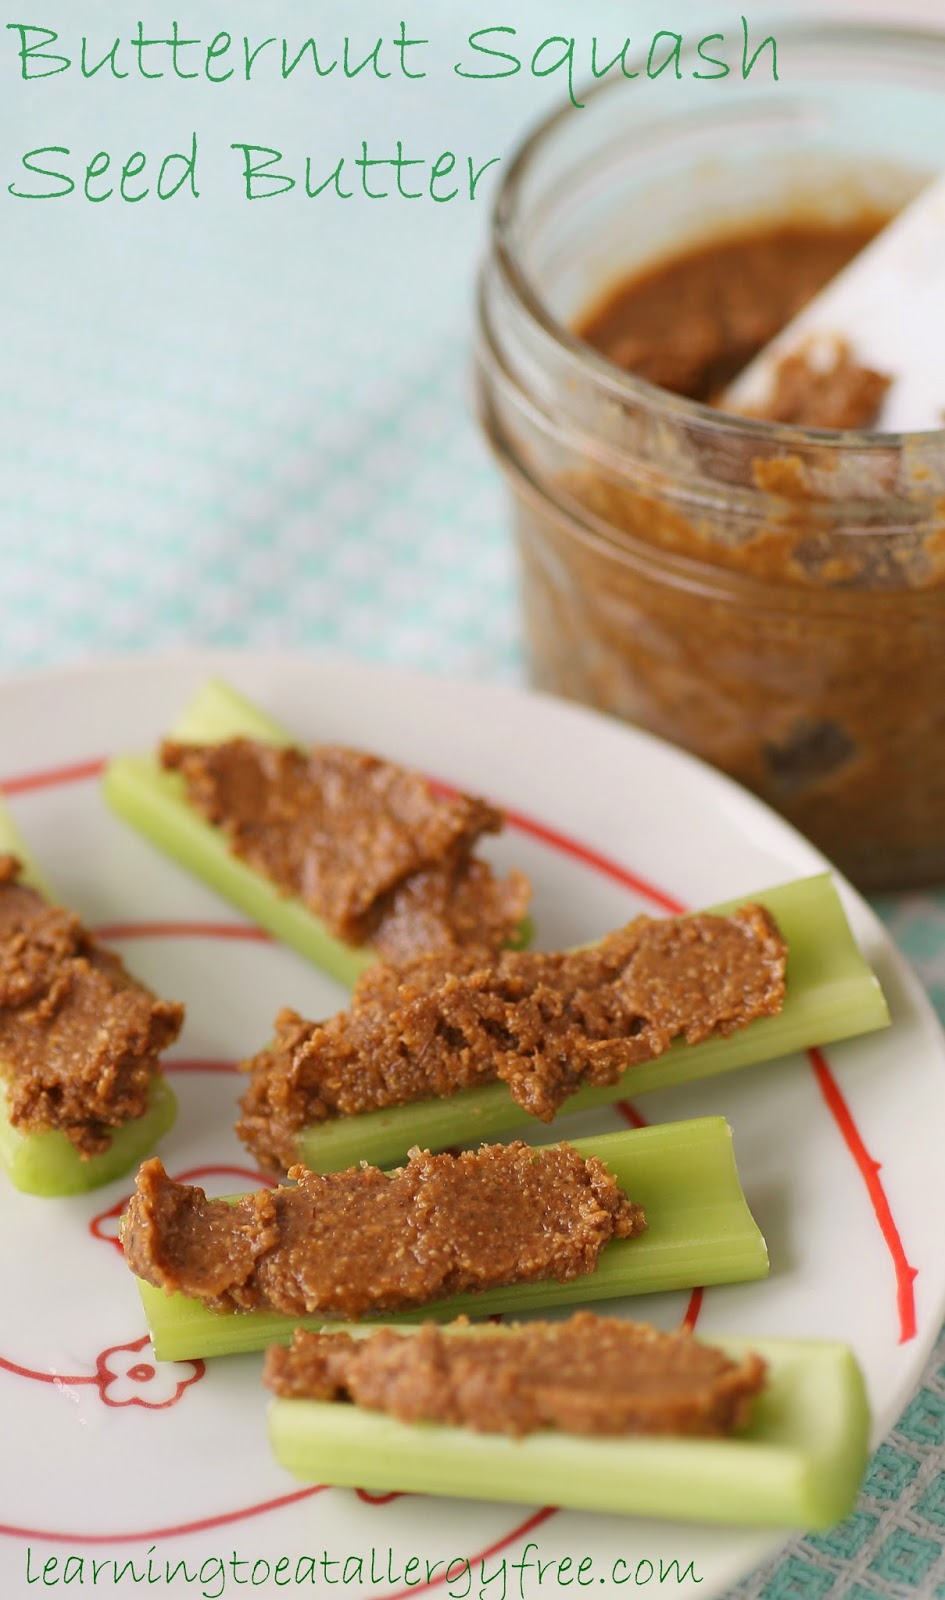
Butternut Squash Seed Butter
Makes about ½ cup
2/3 cup Roasted Butternut Squash Seeds
¼ teaspoon salt (or to taste)
2 teaspoons organic cane sugar
2+ tablespoons sunflower seed oil (or an oil that is safe for you)
Use a small food processor to grind the seeds. Add salt and sugar and process some more. Scrape down the sides of the bowl between each processing step. Add the oil, ½ tablespoon at a time, and process some more until the desired creaminess is reached.

The final result will be both nuttier and less creamy than the typical sunflower seed butter, but still delicious and very good for you!


