Monday, February 27, 2012

Chocolate Truffle Pops

I warned you that I was in a truffle kind of mood this month. Now that I’ve started making truffles, I just can’t stop. And since it was President’s Day last week, I decided to try Cherry Truffles. (Not that I needed an excuse to make them.)

I recently learned that Cake Pops was the top selling cookbook in 2011. But most of those who visit here can’t eat many of the ingredients used in those recipes, and who needs cake pops when you can have truffle pops? (Yes, I am taking credit for inventing truffle pops!)


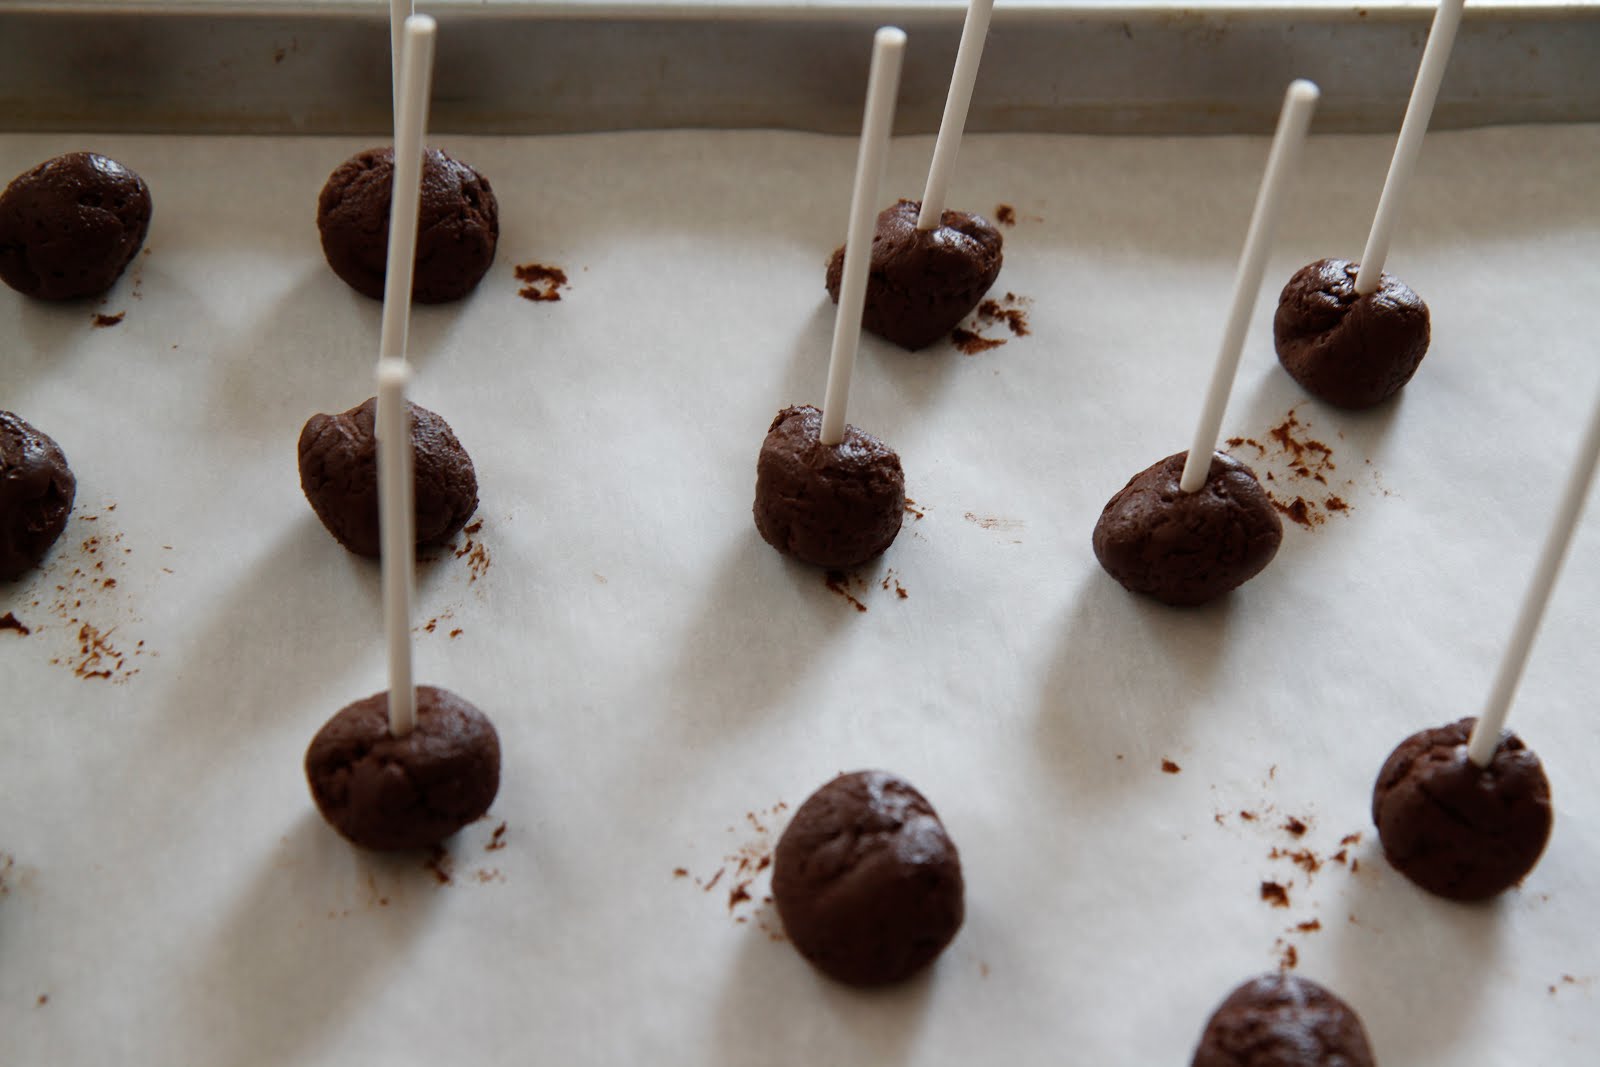
What’s a truffle pop? It’s a truffle on a stick (a lollipop stick will work). How do you make them? You make truffles; before you dip them or roll them in their coating, simply pierce them with a stick:


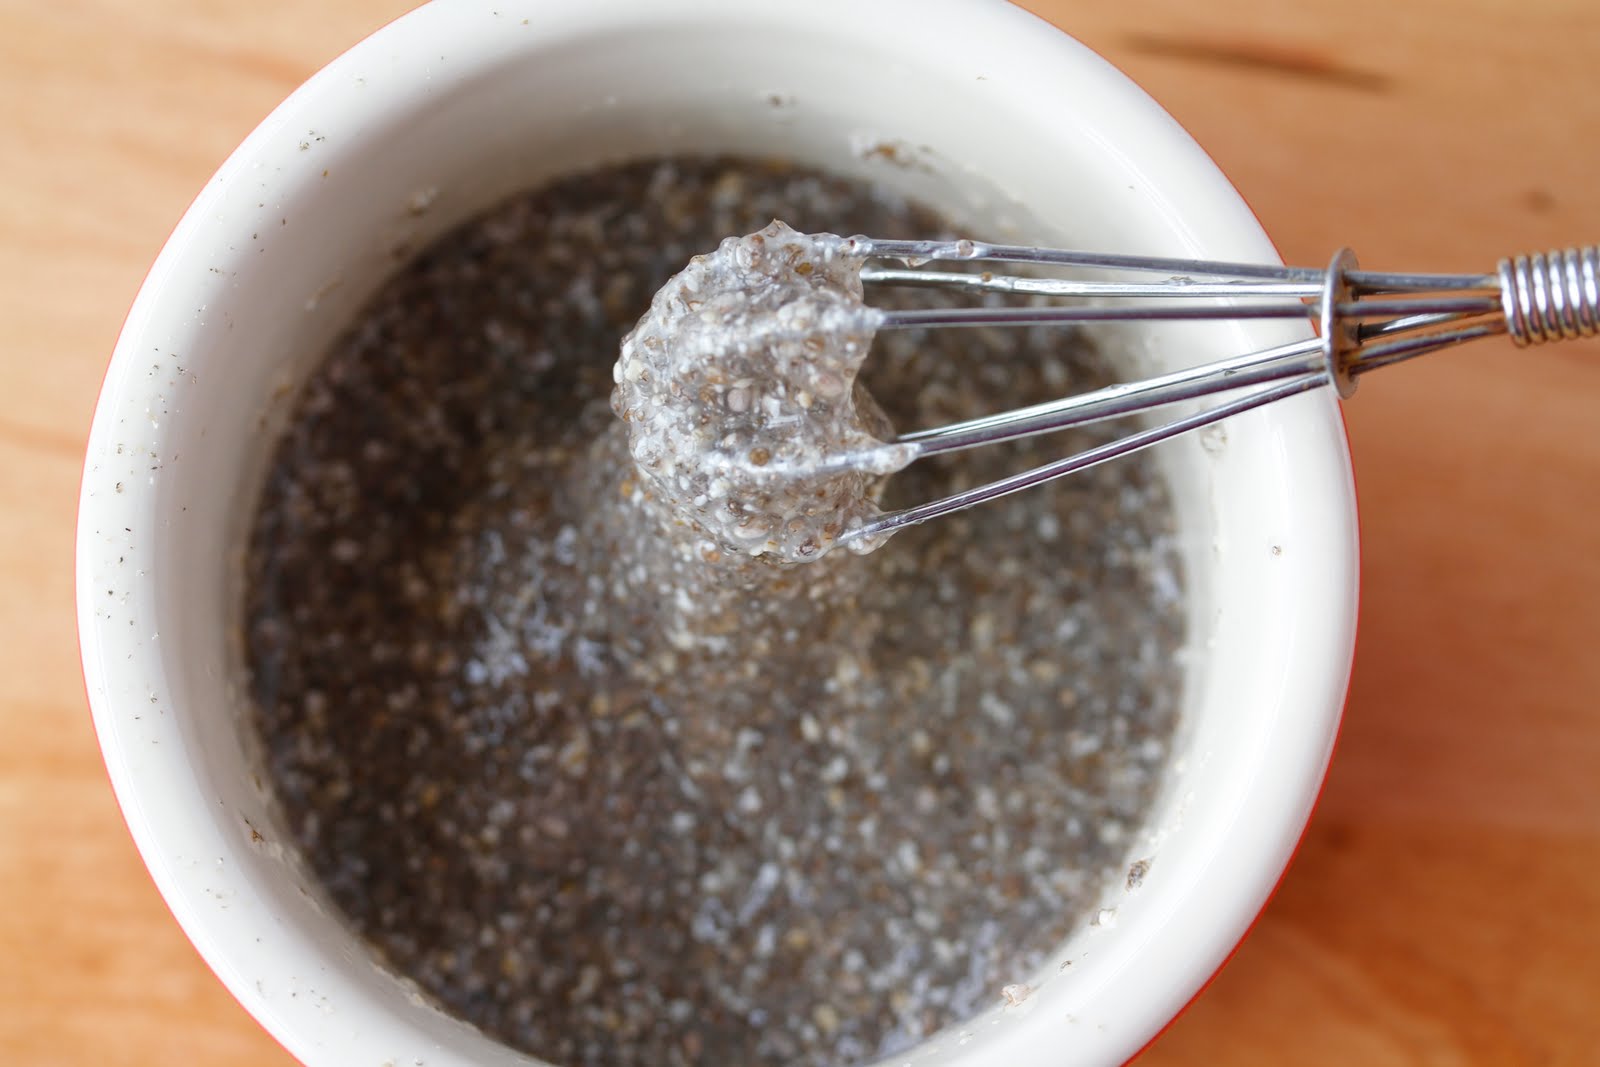
Follow my basic chocolate truffle recipe. To get the cherry flavor, I used Washington Cherry oil in place of vanilla – but only use a very small amount (1/4 tsp) – this stuff is potent!


This time around I decided to dip some of my truffles in chocolate coating. The right way to do this is to temper the chocolate. I used allergen-free semi-sweet chocolate chips – not quite what the chocolatiers would use – and I didn’t get as high a gloss as I should have. (But it’s the taste that really counts, right?)

Warning: Before you start melting chocolate, make sure you are wearing washable clothing – this part can get messy. If you don’t feel like getting messy, or you are pressed for time, simply coat the truffles with cocoa or powdered sugar, like I did with some of mine.

For the chocolate coating:

Measure 1 cup of allergen-free chocolate chips (Enjoy Life or Divvies work well), and place them in a small microwave-safe bowl. Measure ¼ cup of chocolate chips and set them aside. Melt the larger bowl of chocolate chips (gradually) in a microwave. Stir every 30 seconds. When the chocolate is completely melted test the temperature with a probe thermometer. Continue heating (a few seconds at a time) until the mixture reaches 120 degrees. Keep stirring.


Use the remaining chocolate chips to “seed” the mixture. Place a few at a time into the bowl, and stir. Continue this for about 10 minutes, until the temperature drops to 85 degrees. (You may not use all of the remaining chocolate). And resist the urge to throw the remaining chocolate in all at once. (You can’t rush this process.) Keep stirring. When you hit 85 degrees, test the chocolate by dipping the back of a spoon into it, and let it sit. The best result is a hardened high gloss coating after 7-8 minutes (but since you are using allergen-free chocolate, you may not get the gloss).


Heat the chocolate again to 89 degrees (just a few seconds) and you are ready to dip. For truffle pops, simply dip the truffle into the chocolate using the stick. For standard truffles, use a dipping spoon. Let them sit to harden.


Save any leftover melted chocolate for a future project. Hmmm… what else can I make?

Thursday, February 23, 2012

Chia Seed Bagels

Check out the Chia Seed Bagel recipe I created for Bob's Red Mill:


Please note that while I used Bob's Red Mill gluten-free flour in the recipe, those who need to avoid the tree nut and soy warning labels can substitute their favorite gluten-free flour blend.

(Disclosure: Bob's Red Mill provided me with chia seeds and gluten-free flour to create this recipe.)

Monday, February 20, 2012

A Truffle Kind of Month


I've been in a truffle kind of mood lately. It doesn't usually take much to convince me to eat chocolate, and since I made some chocolate truffles for Valentine's Day, I've been on a roll trying new flavors of truffles. So, consider these Post Valentine's Day Truffles. You know, when you've eaten whatever chocolate you had and you still want more. Or is that just me? I don't think so...

All of these truffles start with the recipe I posted last week.

For Rice Crisped Truffles:

Follow the basic truffle recipe and form the truffles as described. Instead of rolling them in cocoa, use a food processor or seed grinder to grind down about 1/4 cup of gluten-free crisped rice cereal. I used Erewhon cereal. Roll the truffles in the crisped rice. Yum!

For Cranberry Truffles:

Follow the basic truffle recipe, add 1/4 cup of finely chopped dried cranberries before refrigerating. I rolled them in cocoa, but powdered sugar would work really well with these. Double yum!


What kind of truffles should I make next?

Thursday, February 16, 2012

More Fun With Chia Seeds – Gluten-Free Chia Seed Crackers


Fair warning: I may be talking about chia seeds for a while. Since Bob’s Red Mill sent me some to try, I keep dreaming up new ideas of what to do with them. Today’s project is Chia Seed Crackers.

In this recipe I am not using the chia seeds in a gel as an egg replacer. Because chia seeds can be digested whole they can be used very much like you would use poppy seeds – and they’re about the same size.

Gluten-free Chia Seed Crackers

1 ½ cups gluten-free flour blend
½ cup millet flour
½ tsp xanthan gum (leave out if the flour blend contains xanthan gum)
½ tsp salt
2 ¼ tsp instant yeast
1 tbsp sugar
2 tbsp chia seeds
¾ cup plus 2 tbsp warm water
1 tbsp olive oil
2-3 tbsp cornmeal (for dusting)

Mix the flours, xanthan gum, salt, yeast, sugar, and chia seeds together. Set it aside. Combine the water and olive oil in a mixing bowl. Add the dry ingredients and beat for 5-7 minutes until the dough is formed. Proof the dough (in the bowl) for 30 minutes:


 Spread the cornmeal on a smooth surface. Place the dough on top of the cornmeal and coat:


Line a baking sheet with parchment paper. Roll out the dough (I like to use a small rolling pin) into a thin layer. If the dough is too thick you will have bready crackers, so spread thinly:


Score the dough with a bench knife or pizza cutter to make the cracker marks:


Bake at 375 degrees for 15-20 minutes (depending on how thin you spread the dough).


Enjoy!

Monday, February 13, 2012

Valentine's Day Chocolate Truffles

Last year I took a chocolate and confections class at the Culinary Institute of America, and learned how to make all kinds of chocolate goodies. Since that time I've been wanting to create my own truffle recipe, with allergen-free ingredients. What better time to do so than for Valentine's Day?

I've never been a fan of those chocolates in the heart boxes. Usually there are too many nuts, and too much milk chocolate. I admit, I like my chocolate dark and plain.

The ingredients for my allergen-free truffles are simple:

¼ cup So Delicious coconut beverage creamer
1 ½ tbsp Earth Balance Natural Shortening
1 cup allergen-free chocolate chips
½ tsp vanilla extract
¼ cup cocoa

The coconut creamer is the perfect replacement for traditional cream in these truffles because it contains thickeners (cane syrup and guar gum). Use your favorite allergen-free chocolate chips with this recipe. Both Enjoy Life and Divvies Bakery chocolate chips work beautifully, and any size chocolate chip will work.

I used 1/2 tsp orange oil instead of vanilla. You could substitute any other oil, or liqueur, to mix up the taste.

Let's get started making truffles, shall we?

Melt the coconut beverage and shortening together over medium heat. Slowly bring it to a boil. When boiling, remove the pan from the heat and stir in the chocolate chips and oil (if desired). Mix vigorously until you have a creamy ganache:


Refrigerate for an hour. Before refrigerating, I transferred the ganache to a mixing bowl to prepare for the next step -- soften the ganache with a mixer (use the paddle blade for about 30 seconds). It should look like this:


Scoop out truffle-sized balls of chocolate using a small spoon, and place them on a lined cookie sheet. Don't worry about how they look at this point.


Use your hands to gently roll the chocolate into smooth balls. (This works best with gentle pressure and cool hands.) Place them back on the cookie sheet. Place the cocoa in a shallow bowl, and gently roll each truffle into the chocolate until just coated:


I used natural unsweetened cocoa because I like the bitter taste of pure chocolate, but this is one rare case when I would suggest that you could use sweetened cocoa (just make sure it's allergen-free). Alternatively, you could roll the truffles in powdered sugar, or dip them in chocolate. Transfer them back to the cookie sheet and refrigerate for another hour:


Share them with someone you love!


Happy Valentine's Day!

Wednesday, February 8, 2012

Be Sure to Get Your Allergy Free Survival Kit

Late last year, Lauren Wuscher of Lauren David Style asked me if I’d like to participate in a food allergy survival kit she was putting together. Heck, yeah! Some decisions are just that easy. Anything that will help food allergy families is something I want to support!


The Allergy Free Survival Kit is chock full of goodies, including samples, coupons, information, and more! It includes some of my personal favorite brands – Enjoy Life Foods, Bob’s Red Mill, and Home Free – and many more! It even includes information about my upcoming book. And the best part is – it’s free!

But don’t wait! There are a limited number of kits to go around, and you will surely want to make sure you get yours! So click here to your Lauren David Style, Allergy Free Survival Kit. Again, the kit it free, but you will need to pay shipping.

Let me know what you think when you get it!

Monday, February 6, 2012

Like, Watch, Share!

I’ve been busy as a bee lately finding new ways to create and share great allergen-free and gluten-free content with you.

First, I’m excited to unveil my new facebook page, the Allergen-Free Baker. But I’m feeling a little bit lonely there, so please head on over and click “like” so you can be sure to get all of my updates. As we get closer to the launch of my book (have I mentioned that my book is coming soon?) I’ll be doing some fun stuff (including giveaways) there.

You will also notice that I’ve put up a link to my You Tube channel, AllergenFreeBaker, so you can easily subscribe to my channel and get video updates. It’s been a while since I’ve posted a new video, but be sure to stay tuned – I have some exciting videos planned.

And, if you like to tweet, you might want to note that I have changed my twitter handle from @cfmjewels (what was I thinking?) to @colettefmartin. If you were already following me on twitter, no need to make any updates – the feed changes automatically.

As always, thank you for following, liking, watching, and sharing!

Thursday, February 2, 2012

Fun with Chia Seeds – Making Chia Seed Gel

I’ve been wanting to try baking with chia seeds, but hadn’t been able to find them locally, so I was thrilled when the folks at Bob’s Red Mill asked me if I wanted to create a recipe for them, using chia seeds. Yes! I absolutely did.

I had heard that it was possible to make chia seed gel – like flax seed gel – to use a substitute for eggs when baking. But I need to try it myself – to see how it works. But, I’m getting ahead of myself. The first thing I want you to do is look at the chia seeds, and notice how different they are than the golden flax seeds I usually use:


The chia seeds are on the left, the flax seeds are on the right.

Chia seeds are tiny – about one-fourth the size of flaxseeds. But unlike flax seeds, whose shells need to be cracked to be able to digest them, chia seeds can be eaten whole. That means they can be used as toppings or add-ins – in whole form.

Also notice the color. The dark color of chia seeds means that they will be noticeable in most baked goods – if that matters to you.

Flax seeds need to be ground into meal before you can make an egg replacer gel with them, but chia seed gel can be made from whole seeds:


That said, I actually prefer grinding the seeds before adding the water:


So that you can get a smoother gel that looks like this:


While I typically grind about ¾ tablespoon of flax seeds to get 1 tablespoon of flax seed meal, only ½ tablespoon of chia seeds are needed to get one tablespoon of meal. If you use more, your chia seed gel will be too dense.

The formula to make chia seed gel (one egg equivalent):
½ tablespoon chia seeds (either whole or ground) mixed with 3 tablespoons warm water. Whisk together, let it sit for five minutes, then re-whisk.